
How To Make Vegan Gumpaste Tuberoses | Filler Flowers | Vegan Sugar Flowers
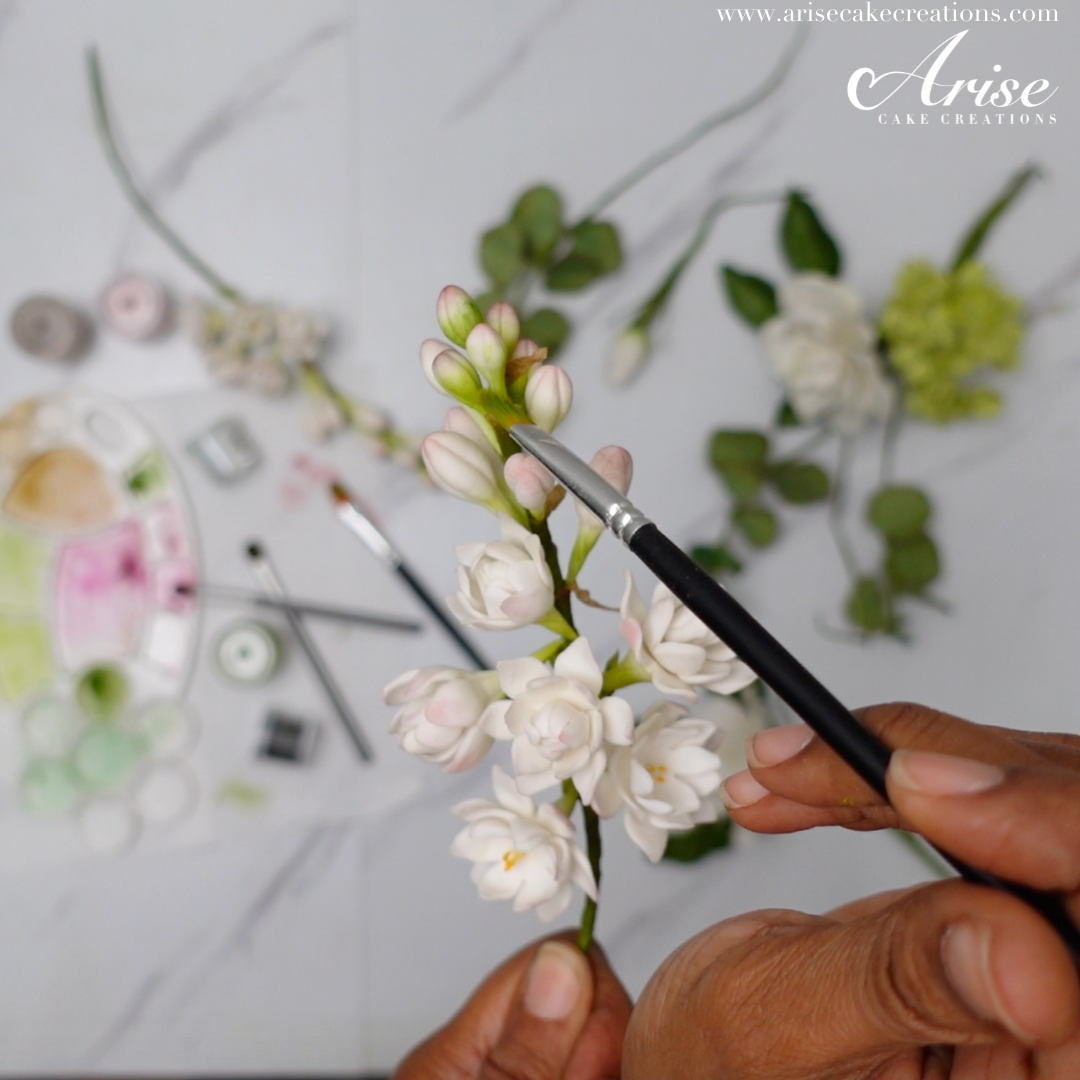
Tuberoses are beautiful blooms of flowers on a stem. Nature has elegantly arranged each stem so they have a graceful appeal, the flowers also stand for purity, peace and innocence, so they are often used in bridal bouquets. On a cake or used in sugar flower arrangements they make brilliant filler flowers, adding the finishing touches that bring a floral arrangement to life and joy to the eye.
Although this flower has the word rose in its name, this flower has nothing to do with roses. It is actually a distant relative of the hyacinth. The tuberose flower have an incredible heavenly scent with notes that are spicy, floral and sweet. The fragrance can be found in many exclusive perfumes.
If you already have my Vegan Gumpaste Recipe then you are ready to go forth and make these wonderful flowers. If not then head over to my Vegan Gumpaste Recipe here, before you get started.
COLOURS AND SHAPES
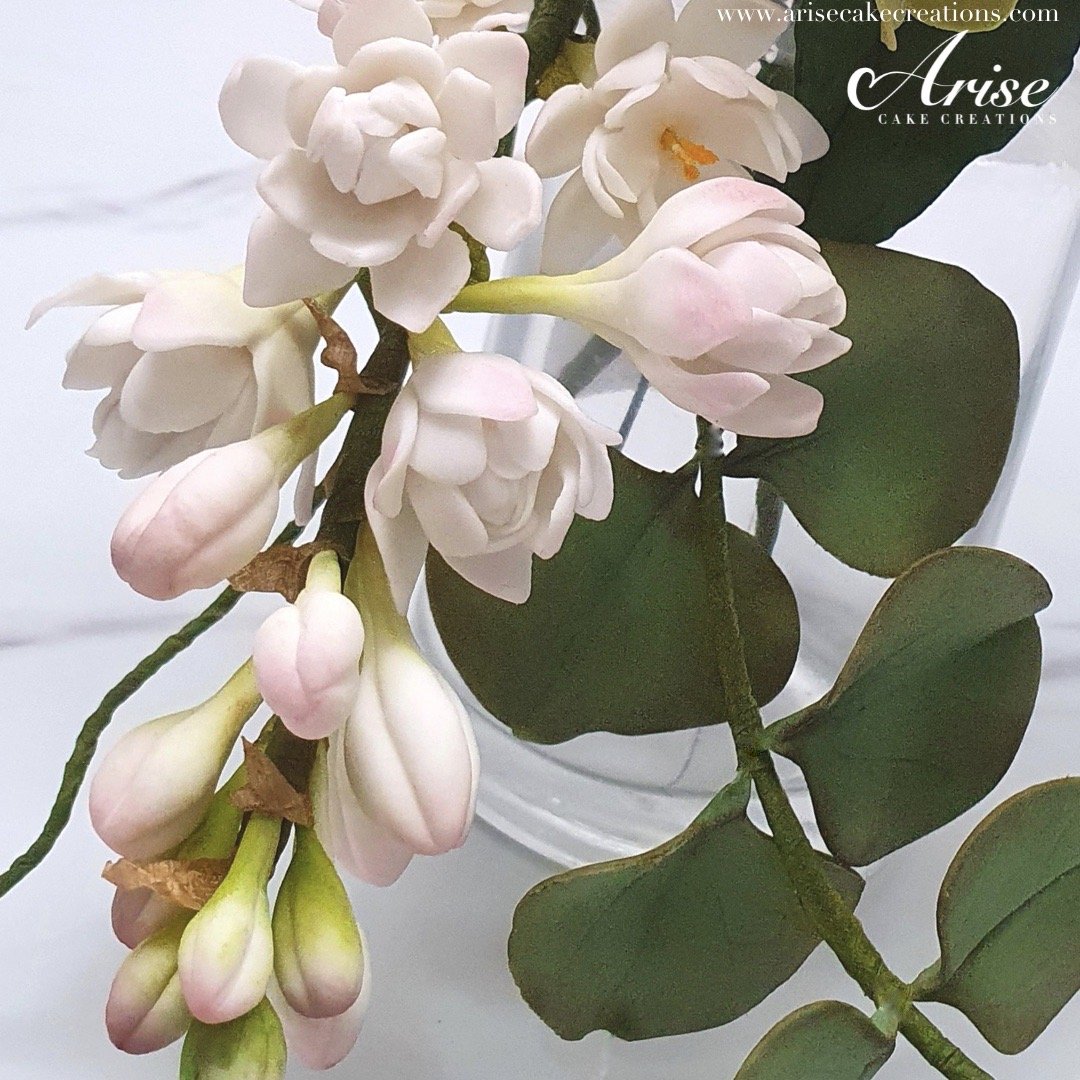
In nature, the small white flowers that make up a sprig of tuberose adorn a long, slender stem that can grow up to a height of 90 centimetres. There is minimal touch of pink or lilac on the buds and flowers, but what the tuberose lacks in colour it more than makes up for with its famous fragrance.
Equipment Required
The full list of equipment is outlined below the photo.

Tools
28 gauge white florist wire (for the petals)
26 gauge florist wire (for the leaves)
18-gauge florist wire – For the stem
Ball tool (plastic or metal is fine)
Rolling pin (6” or 9” length)
Paint brushes – For edible glue and dusting petal dusts.
A glass cup (alternative to stop gumpaste from drying out)
Zip lock bags/cling wrap/airtight container - Gumpaste dries quickly, so it will need to be stored away while you work.
Something to insert your buds and leaves into as you work, such as a cake dummy, polystyrene or florist foam blocks (Oasis).
Edible Ingredients
Vegan-Friendly Petal dust - Colours. See my list of vegan friendly products here.
Corn flour/Corn starch – To prevent gumpaste from sticking.
Trex/Crisco (Vegetable shortening) – For conditioning gumpaste.
Making The Flowers
The tuberose may look complex, but it is actually an easy flower to make with the right steps and guidance. In this tutorial I will take you through the process with clear instructions, to make this elegant and graceful flower.
Each flower has three layers, in three different sizes (small, medium & large) consisting of 6 petals for each layer. I couldn’t find a Tuberose petal cutter. So, I went down the alternative route and used a 6 petal Jasmine petal cutter. This alternative petal cutter, worked very well.
Begin by making the buds. The number of buds on a tuberose stem can vary, so decide how many you want. I made around 12 - 14 buds for each stem.

Buds
Cut the required amount of florist wire for each bud. One length of wire can be cut into 3 pieces. Use 26-guage wire for the small buds and 28-guage wire for the medium and large size buds.
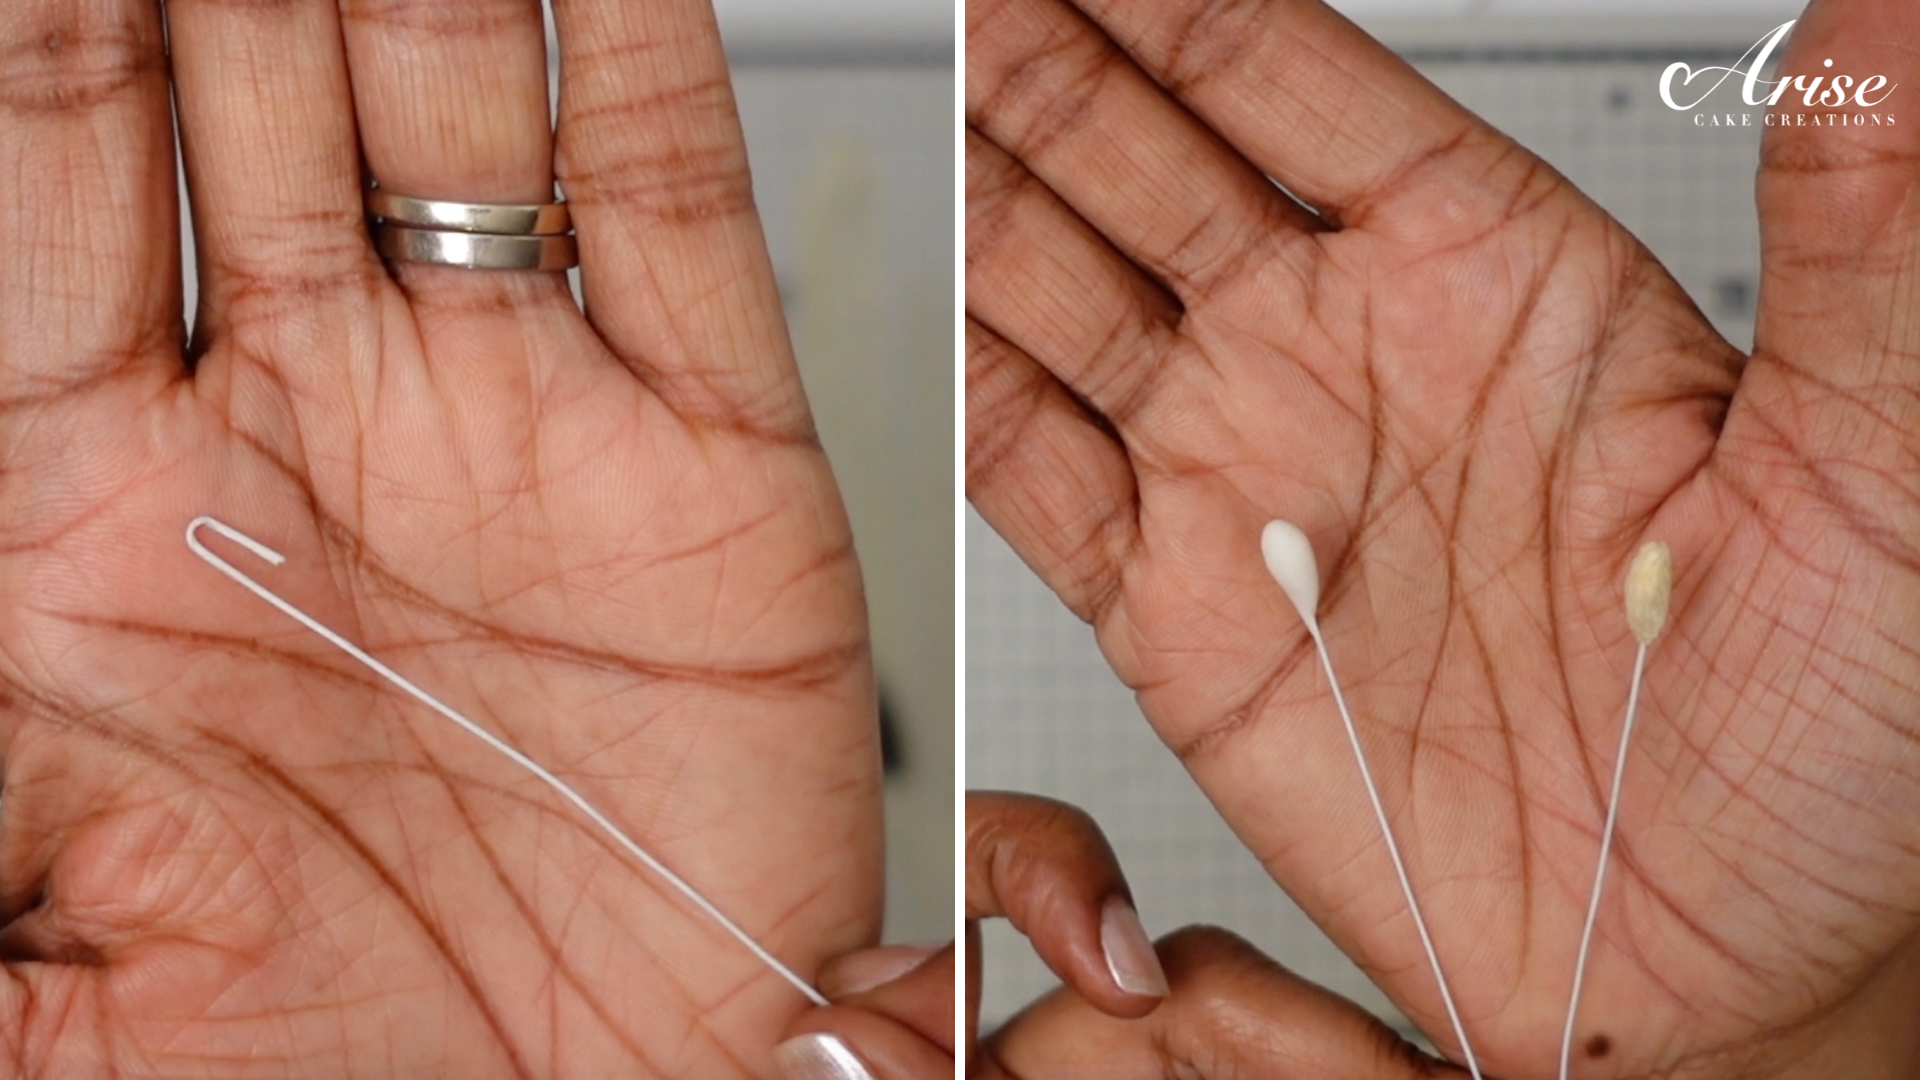
Use a pair of needle noise pliers, gather together some of the wire and make a small hook in the wire(s).
Measure out small balls of vegan gumpaste from the smallest to the largest. I made 3 different size buds. Place the small balls of gumpaste in an airtight container, so they do not dry out, as you work on each bud.
Roll the ball of gumpaste into a teardrop, insert the hook end of the wire into the teardrop. Make sure to secure the gumpaste to the wire. Pull off any excess gumpaste.
Use a sugar craft tool or palette knife to make 3 lines in the buds. Bring the lines down to the base of each bud.
For the medium and large size buds bring the gumpaste further down the wire, narrow the shape and tapering off towards the base of the bud where it meets the wire. Bend the wire slightly at the narrow/tapered section, so the buds are slightly angled.
Set the buds aside to dry, before dusting.

Closed Flower
CENTRE BUD METHOD 1: Bend a 0.8cm hook into a 26-gauge wire.
Using white or cream florist tape, wrap the tape around hook end, to create a soft, small bud shape.
CENTRE BUD METHOD 2: In the same way the buds were make - Make a small hook in a 26-guage wire. Take a small piece of gumpaste, roll it into a ball then into a teardrop shape. Insert the hood end into the teardrop. If you are making the flower centres with this method, you will need to wait for the gumpaste to dry, before applying the flower petals.

Note: The petals of a Tuberose are very fleshy, so do not roll out the gumpaste too thinly.
First Layer of Petals: Use a Cel Board or make a small mexican hat by hand. Use the middle hole on the cel board. Roll out the gumpaste over the hole. The petals of the tuberose are fleshy, so do not roll the gumpaste too thin.
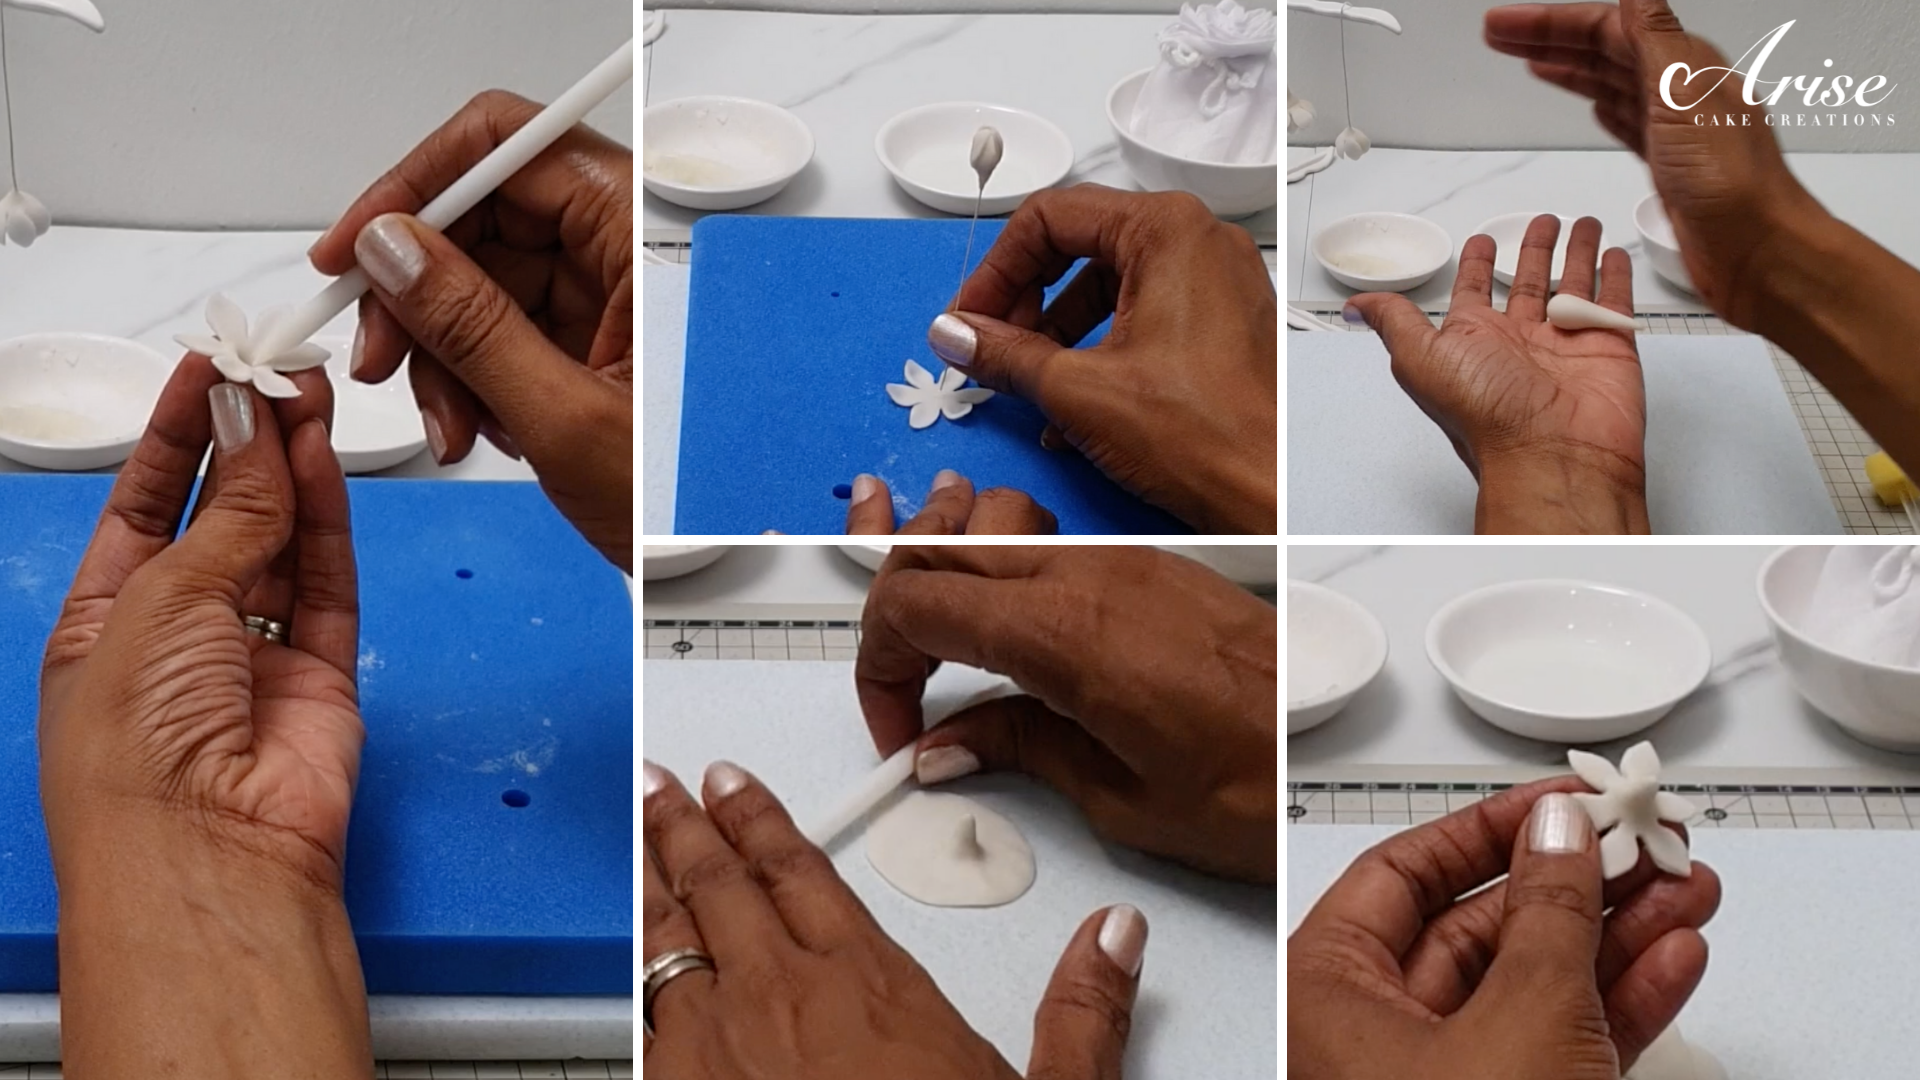
Use the first size petal cutter. Make sure the mexican hat is positioned in the middle of the cutter. To make sure the petal shape is cut out cleanly, I flip the paste and cutter over and use my finger to rub over the edges.
Place the petals onto a foam pad with holes. Place the mexican into one of the holes in the foam pad. Use a ball tool to lengthen and thin the petal edges. Then use a cel stick to hollow each petal slightly.
Brush edible glue over the centre bud. Glue the first, third and fifth petal to the centre bud, make sure they are securely stuck down. Brush glue on the remaining petals then push them securely in place. Hang it upside down on a flower drying rack or use an alternative method.
Second Layer of Petals: Roll this layer out completely flat. Use the second size petal cutter. Place onto the foam pad to lengthen, thin and hollow the petals.
Brush a small amount of edible glue at the base of the first petal layer. Thread on the second layer of petals and secure in place. Bring the petals inwards, so the flower looks closed. Hang it upside down on the flower drying rack.
Third Layer of Petals: Make a larger mexican hat by hand. Roll some gumpaste into a teardrop shape. Flatten out the base between your finger and thumbs. Place the flat base on a flat mat/area. Use the third size petal cutter, make sure the mexican hat is in the centre of the petal cutter.
Place the third layer of petals into the largest hold of the foam pad. Lengthen, thin and hollow the petals as before. Use the cel stick, to make a hole in the centre.
Brush some edible glue onto the base of the second layer. Thread the third layer of petals on and stick securely in place. Use sugar craft tool to mark lines from the join of each petal to the base.
Manipulate some of the petals inwards and some slightly curling backwards, to indicate this layer of petals are beginning to open. Hang upside down to dry completely before dusting.

Open Flower

The steps for making the open flower are very similar. The open flower has a stamen and the petals are positioned to be fully open.
Making The Stamen: Take 3 small headed stamen (white). Cut the ends of the stamen, leaving only the wick.
Take a 26 gauge florist wire and half width white or cream florist tape. Attach the stamen to the wire, leave a length of about 1.5cm of the stamen showing. Tape the stamen onto the florist wire.
Mix some fine cornmeal/semolina with yellow petal dust (make sure the petal dust is vegan-friendly). Brush the tips of the stamen with some edible glue, then dip them into the fine cornmeal/semolina colour mix. Tap off any excess cornmeal. Hang it upside to dry, while you work on the petals for the open flower.
First Layer of Petals: Prepare the petals in exactly the same way as the closed flower. Brush some edible glue onto the base of the stamen. Then thread the petals on.
After threading the petals on, bring the petals into a cup shape, manipulate the petals to look natural and open. Hang upside.
Second Layer of Petals: Prepare and glue on the petals as per the close flower. Curl some of the petals backwards to show the flower is more open. Hang upside down.
Third Layer of Petals: Prepare and glue on the final layer as per the closed flower. Again curl some of the petals backwards, also bend some petals in different directions to make the flower look more natural.
Hang the flowers the flowers upside down to fully dry before dusting.
NOTE: Make sure all of your petals are dry before moving onto the dusting stage.
Dusting The Buds & Flowers

Dusting the buds and flowers will bring the tuberose to life. Use vegan-friendly petal dust colours. I used Sugarflair’s Primrose, Crystal Colours Tree Bark, EdAble Art Peony Rose & Spring Green, along with some corn flour/starch to lighten the colours.
Mix some yellow (Primrose) with green (Spring Green), to create a yellow-green shade.
Small Buds: Brush the base of the buds with the yellow-green shade, allow the colour the blend all over the buds. Then brush some green (Spring Green) at the base of the buds, allow the colour to blend into the green-yellow that was first applied.
Medium/Large Buds: Mix some of the yellow-green with some corn flour/starch to lighten the colour. Brush this colour at base of the buds, taper and blend the colour towards the top of buds.
Closed & Open Flowers: Use the same yellow-green mixed with the corn flour/starch. Brush the base of the flowers in the same way as the medium large buds.

Mix some pink (Peony Rose) with corn flour/starch to lighten the colour. Brush this colour to the tops of the buds. Then lightly brush some of the petals of the closed and open flowers with this colour.

Making The Bracts
The bracts are at the base of where the tuberose buds and flowers grow from. They are very simple to make from florist tape.
If you have some brown tape this can be used. I did not have any. So brush some brown petal dust (Tree Bark). Dust the back and front of the tape.
Cut out small triangle pieces. Texture the brown bracts using either a pin, scriber tool, or veining tool. Just mark lines over the surface to create the texture.
Make some bracts in green as well. If you have it use light green florist taped. Texture the green bracts in the same way as the brown bracts.

Assembling The Flower
The buds and flowers grow from the stem in pairs. Each pair of buds and flowers have bracts positioned at the base.
The stem is made using a 18 gauge florist wire. Have strips of half width light green florist tape ready.
Begin by taping on the tape onto the 18 gauge wire, position and tape on the buds in pairs. Add a brown bracts to the base of each buds. Add all the buds on in the same way, until they are all taped on.
Tape on the closed flowers in pairs, add a green bracts at the base. Continue this process until all the closed flowers are added.
Tape on the open flowers in pair, add a green bracts at the base. Continued this process until all the open flowers are added.
Wind the light green tape the entire length of the stem.
Position or move any of the buds or flowers into position to finish.
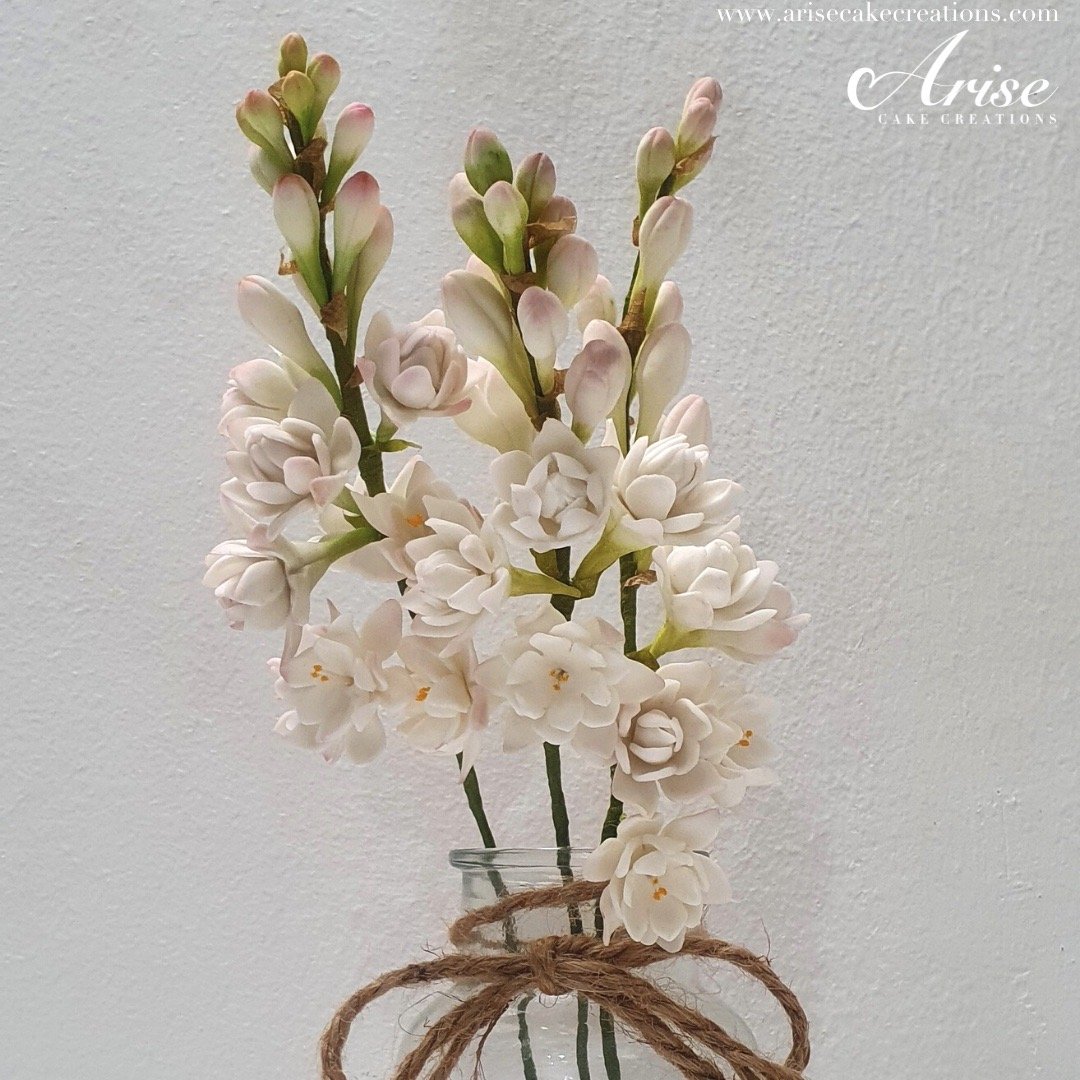
The graceful tuberose is completed and ready to bring any any sugar floral display or cake to life!
I hope you enjoyed this tutorial. If you make this Tuberose, please remember to tag me - #arisecakecreations - @arisecakecreations on Instagram or Facebook, so I can see your beautiful creation.