How To Make Vegan Gumpaste Hydrangeas | Filler Flowers | Vegan Sugar Flowers
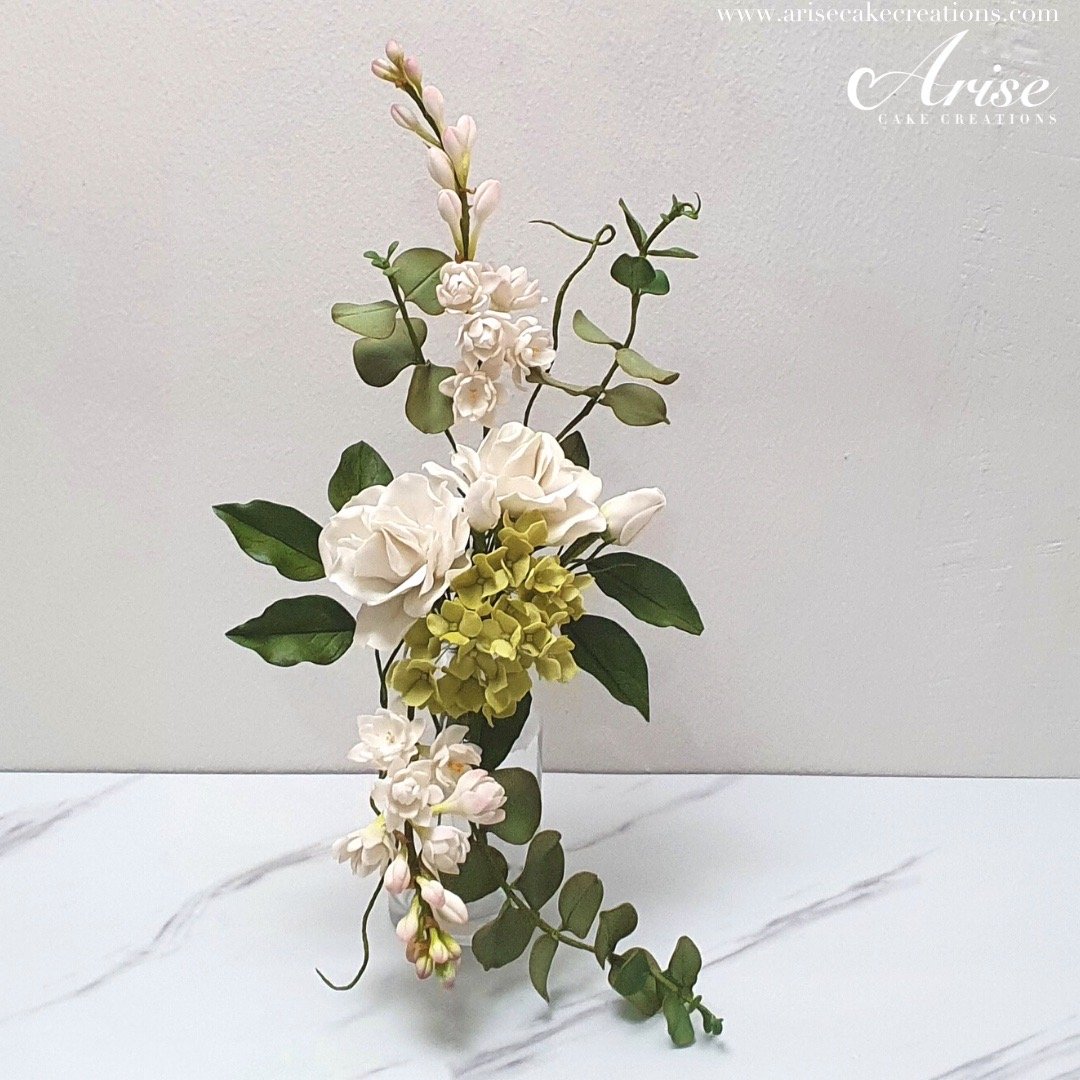
If you are looking for a filler flower that will make your sugar floral arrangements look complete, then look no further than the hydrangea flower. Each hydrangea flower makes up a flower head creating small blooms clustered together to create a pompom shape. They are delightful and have great show appeal. In this tutorial, I explain and show you how to make gumpaste hydrangeas the easy way, so you can decorate all your beautiful cake creations with confidence.
If you don’t have the hydrangea petal cutter(s), never fear! I have made up a FREE TEMPLATE that you can access, so you don’t have to feel left out making these easy but stunning flowers.
COLOURS AND SHAPES
Hydrangeas come in a variety of shapes, colours and sizes. With blooms putting on a showy display in shades of pink, blue, red, white, purple, lilac, green, and also fabulous colour combinations. Due to this wide selection, hydrangeas are popular for wedding displays, on their own as floral ensembles or as filler flowers, adding the finishing touch.
I had a very distinctive look that I was aiming for when I made my hydrangeas, hence why I chose to make them in various shades of light green! But with the wide selection of colours and colour combinations this flower comes in, you can afford to let your imagination run wild!
Equipment Required
The full list of equipment is outlined below the photo.
Tools
28 gauge white florist wire (for the centre / stem)
Ball tool (plastic or metal is fine)
Rolling pin (6” or 9” length)
Paint brushes – For edible glue and dusting petal dusts.
A glass cup (alternative to stop gumpaste from drying out)
Zip lock bags/cling wrap/airtight container - Gumpaste dries quickly, so it will need to be stored away while you work.
Something to insert your buds and leaves into as you work, such as a cake dummy, polystyrene or florist foam blocks (Oasis).
Edible Ingredients
Colour of your choice *Vegan Gumpaste - My Vegan Gumpaste recipe is easy to make and works well in humidity.
Vegan-Friendly Petal dust - Colours. See my list of vegan friendly products here.
Corn flour/Corn starch – To prevent gumpaste from sticking.
Trex/Crisco (Vegetable shortening) – For conditioning gumpaste.
Making The Flowers
There are 2 wired methods for making hydrangeas. Non-wired flowers with a central wire, or fully wired - centre & petals.
I am keeping things simple for this tutorial and doing the non-wired flower with wired centre. I have a set of 5 hydrangeas cutters, but I only used the first 3 sizes. In my FREE TEMPLATE I have included the 5 cutter sizes.
I coloured my gumpaste 3 shades of green (you can use any colour of your choice), using vegan-friendly gel colour. I used a mixture of Sugarflair & Americolor on this occasion. I find making the hydrangea flowers in a few different shades, adds interest and realism, when bringing the hydrangea bloom together.
To finish off my hydrangeas, I made some hydrangeas leaves, again I have added a leaf to my FREE TEMPLATE. If you have rose leaf cutters they are a similar shape/style to hydrangea leaves, so they can be used as alternative.
I added texture to the surface of the hydrangeas, using veining tools, however, these flowers would still look just as lovely if they are not veined.
Hydrangeas look best when they are grouped together in a beautiful blossom headed bloom. So that does mean making a considerable amount flowers to achieve this look. However, these hydrangeas are super easy to make, so once you get started, you will have a production run going and have a gorgeous bloom of hydrangeas in no time!
Flower Centre
Cut the 28-guage wire into thirds.
If you are making coloured hydrangeas, colour up your vegan gumpaste in the colour of your choice using vegan-friendly gel paste.
Pinch off a very small amount of vegan gumpaste and roll it into a ball. You can make up lots of these small balls all at once and store them in an airtight container, to give you time as you work on each flower.
I do not make a hook in the wire, so it keeps the process simpler. If your gumpaste is a little drier, you can brush some edible glue on to the end to be inserted into the gumpaste. The vegan gumpaste is soft, so inserting the wire into gumpaste without glue, is fine. Maintain the ball shape, secure the gumpaste to the wire and pull off any excess gumpaste.
Use a palette knife or alternative tool, to make a line across the top of the gumpaste ball in one direction and then the other direction, creating a cross over the top.
See, super simple and all done! Set the centres aside to dry, before adding the flowers.
Hydrangea Flowers
NOTE: Make the hydrangea flowers in a range of sizes. Veining the petals is optional, the flowers still look lovely unveined if you choose not to do this.
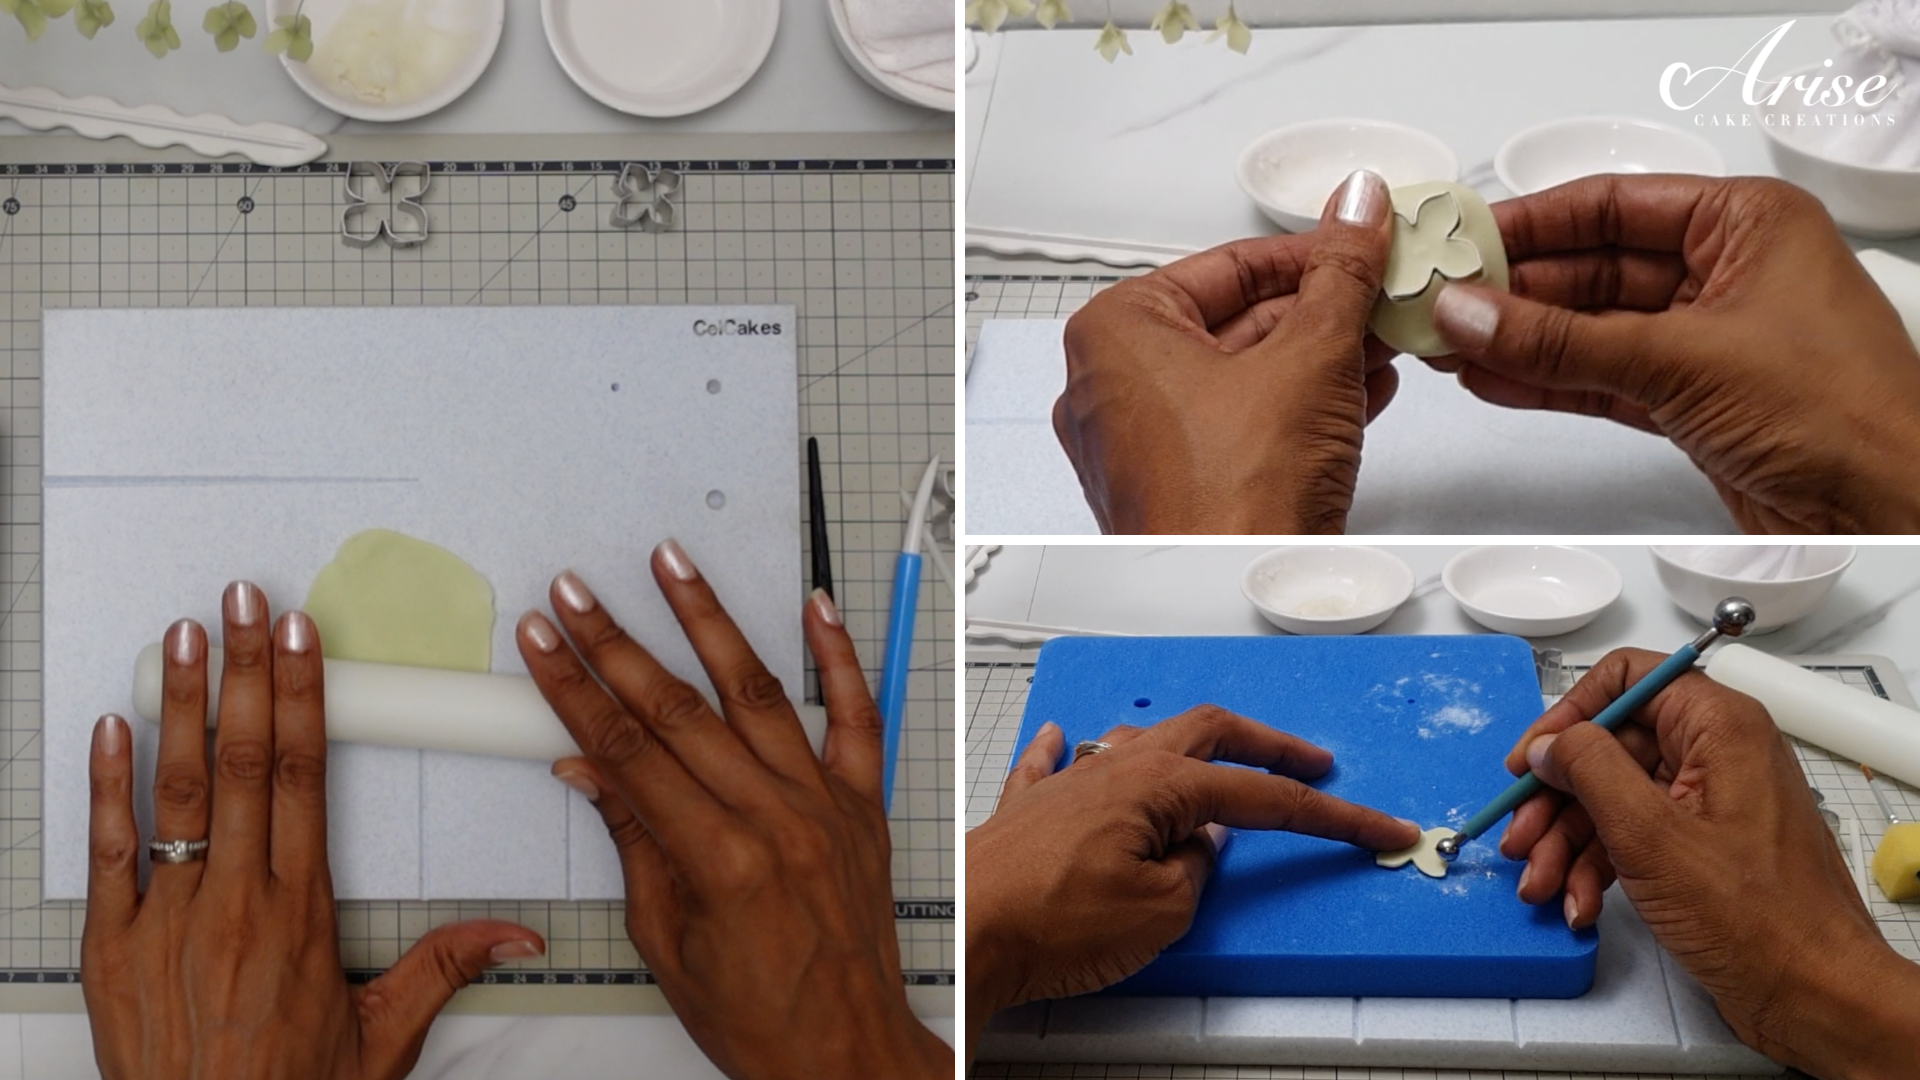
Roll out the gumpaste fairly thin.
Use the first size petal cutter to cut out the petal. To make sure the petal shape is cut out cleanly, I flip the paste and cutter over and use my finger to rub over the edges.
Place the petal onto a foam pad. Use a ball tool to thin the petal edges.
FLOWER VEINING METHOD 1: Placing each petal on your index finger, use a JEM texture veining tool to vein each petal.
Brush edible glue over the base of the centre. Thread the wire through the centre of the flower. Carefully pinch the flower in one direction then the other to secure the flower to the centre and wire.
Bend, twist and shape the petals to look natural.
Hang the flower upside down on a flower drying rack or use an alternative method.
FLOWER VEINING METHOD 2: Follow steps 1 - 3. Use a straight edge veining tool to mark straight lines, creating the texture over each petal. Then follow steps 5 - 7.
Dusting The Hydrangea Flowers
Note: This is an optional step and the flowers still look great undusted. I dusted my hydrangea flowers in one colour using vegan-friendly petal dust. I used EdAble Art colour in Spring Green.
I lightly brushed petal dust over each flower to bring out some of the veining on the petals surface and also dusted some of the flower centres.
Arranging The Hydrangeas Into A Bloom
Note: Bring together flower groupings of different sizes and colour shades (if you have done colour shades) to make the hydrangea bloom look more interesting and realistic.
Look at photos or actual hydrangea blooms to give you ideas of how to arrange your hydrangeas.
When all of your flowers are dry. Bring the flowers together in groups of around 3 - 5 flowers per group. Mix the sizes i.e. 1 small, with 2 medium and 2 large size flowers or 2 small with 1 medium, 1 large etc. Also mix up the colour shades if you have made flowers in various colour shades. Use half width florist tape to tape each grouping together.
When the flower groupings are done. Bring the flower groupings together to form 1 hydrangea bloom. There is no method when bringing the bloom together, look to see what flower groupings fit into the gap(s). It a bit like putting a jigsaw puzzle together. Use your creative eye to see how best to pull it together, do not over think it, but have fun! Use half width florist tape as you add each flower grouping into the hydrangea bloom.
When you have added all of your flower groupings to the hydrangea bloom, you are finished! You can go on to make some hydrangea leaves, if you choose to do so. My FREE TEMPLATE has a hydrangea leaf or you can use rose leaf cutters if you have them, since they have a similar shape/style to hydrangea leaves.
The delightful and easy hydrangeas are completed, adding that finished look to your cakes and sugar floral arrangements.
I hope you enjoyed this tutorial. If you make these hydrangeas, please remember to tag me - #arisecakecreations - @arisecakecreations on Instagram or Facebook, so I can see your beautiful creation.


