
Gumpaste Japanese Anemone | Easy Option for Beginners Also Included | Sugar Flowers
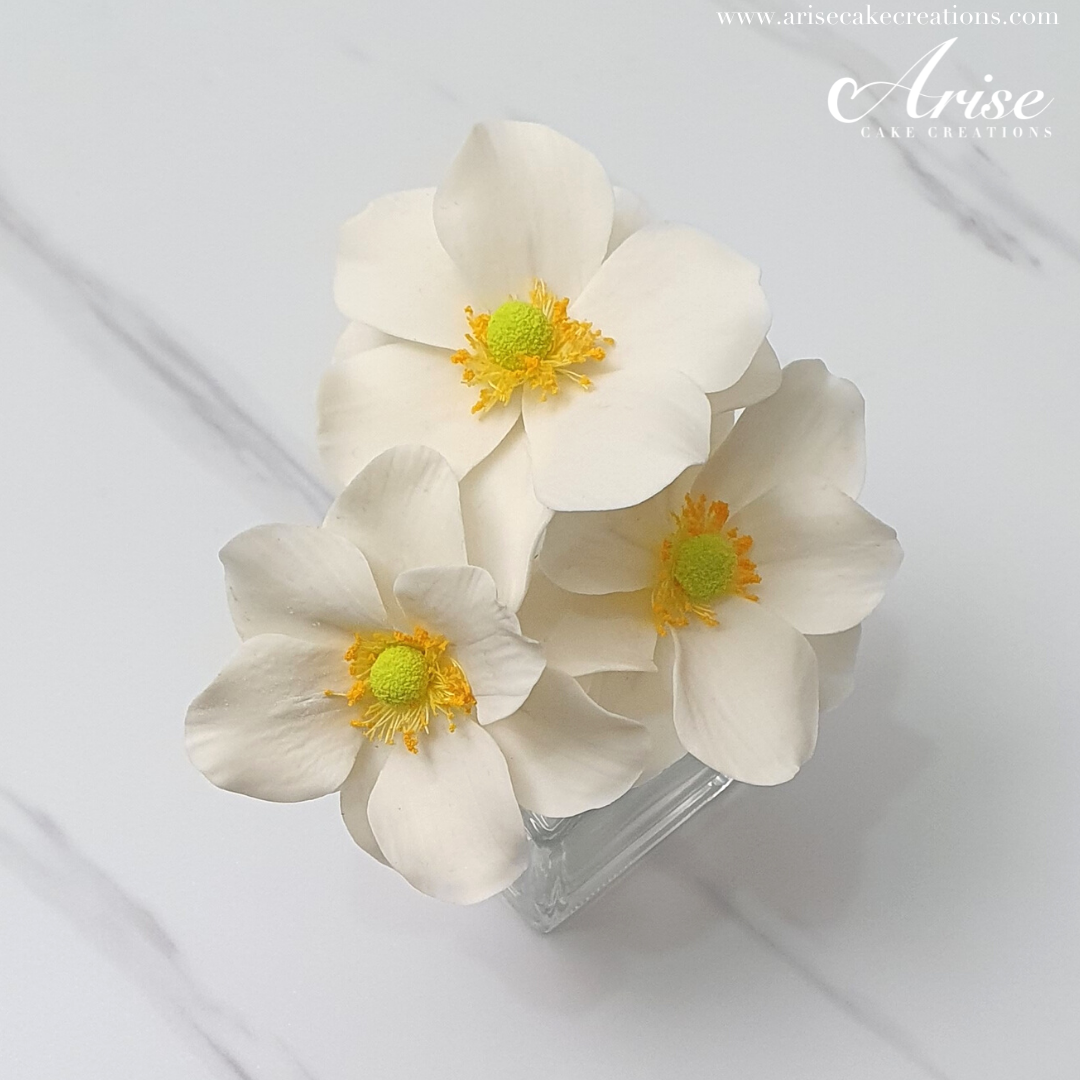
This Japanese Anemone or ‘Honorine Jobert’ is a striking and simply beautiful flower. The colours range from snow white to dark pink and purple with a brilliant vibrant centre.
In this tutorial I have made this Japanese Anemone in a gentle shade of white, with wired petals, I’ve also included an easy option and made a FREE TEMPLATE, so if you are a beginner or have minimal equipment, you to can get started making this stunning flower. It’s a win, win! So let’s get started!
Main Equipment Required
The full list of equipment is outlined below the photo.
The beginner and minimal equipment is explained in the beginner friendly instructions.

Tools
28 gauge white florist wire (for the stamen and petals)
24 gauge florist wire (for the seed head)
Rose petal cutter - w: 2.5cm, L:3.3cm
Ball tool (plastic or metal is fine)
Rolling pin (6” or 9” length)
Paint brushes – For edible glue and dusting petal dusts.
Blossom template or F6 Orchard Product Blossom cutter (for easier version flower)
Cel Stick OR Pencil or Paintbrush (for easier version flower)
Craft blow torch (optional)
Small digital scales (optional)
A glass cup
Foil
Zip lock bags/cling wrap/air tight container - Gumpaste dries quickly, so it will need to be stored away while you work.
Something to insert your flower into as you work, such as a cake dummy, polystyrene or florist foam blocks (Oasis).
Edible Ingredients
*Gumpaste - My gumpaste recipe is easy to make and great especially if you live in a hot climate.
White Gumpaste
Light Green gumpaste
Fine Cornmeal or fine Semolina (for making the edible pollen)
Petal dust - Colours according to the colour of the flower you do.
Edible Colour paste/gel colours - If you colour your gumpaste.
Corn flour/Corn starch – To prevent gumpaste from sticking.

I will explain how to make the fully wired flower first, then the beginner version. Remember, if you want to see all the details visually, the video to this tutorial makes it clearer.
How To Make A Wired Japanese Anemone Flower
Making The Centre
The Japanese Anemone has a vibrant and interesting centre, which consists of a full circle of bright yellow & orange stamen and a perfect round seed head, which is yellow & green in colour. My seed head on the beginner version is more yellow, because I was testing the technique out before I realised it should be more yellow & green. I make all the mistakes so you don’t have to!

Start by making the stamen. Cut a 28 gauge florist wire into three pieces. Take one piece of wire and bend a hook that is about 2-3cm in length. Wind the cotton thread around two fingers, about 35 - 40 times. Remove the threads from your fingers and twist the threads once into a figure of 8. Take the the florist wire, hook it over the centre, twist the wire to secure it. Use a piece of 1/2 width mid-green florist take to secure the thread with the wire at the base.
Cut the looped ends. Then trim the threads evenly to a length of 1.5cm (¾”). Brush some edible petal dust over the threads. I mixed together Sugarflair (SF) Primrose mixed with SF Egg Yellow. However, you can use a brand with a similar colour shade(s).
Make the edible pollen for the stamen, mix together fine cornmeal (or semolina) with SF Primrose and Egg Yellow. Make sure the edible petal dust is mixed in well into the cornmeal to obtain the right colour. Brush the thread tips with some edible glue then dip them into the edible pollen. Use a pin to help separate any threads that may have clumped together. Arrange the threads into a circle shape. Set it aside to dry
To make the seed head, cut a 24 gauge florist wire in half. Use needle nose pliers to bend a small hook into one end of the wire.
Roll a piece of light green gumpaste into a ball, the size should be about 0.8cm - 1cm diameter or 0.60g weight. You can use either edible glue brushed onto the hook and insert it into the gumpaste (you will need to allow this dry before using it). If you have a small craft blow torch, use it to torch the hook end of the wire and insert it into the gumpaste. The heat from the wire will adhere to the gumpaste immediately, so it can be used straight away.
Make the pollen for the seed head in the same way it was done for the stamen. Mix the fine cornmeal with edible petal dust colour. I used SF Primrose or Spring Green, again use whatever edible dust colour you have that are similar. Evenly brush the seed head with edible glue and dip the seed head into the edible pollen, knock off any excess pollen.
When the stamen and seed head are dry, carefully, thread the seed head down the centre of the stamens and secure in place at the base with 1/2 width mid-green florist tape.
Wired Petals
This species of flower has 6-9 petals. Choose the quantity you want for your flower.

Lightly condition some white gumpaste with vegetable shortening. Roll the gumpaste evenly and thinly over a groove board. Use a small rose petal cutter, to cut out a petal.
Brush one end of a 28 gauge wire with edible glue. Carefully thread the wire into the petal and secure the petal at the base against the wire.
Place the petal onto a foam pad, using a ball tool, gently widen and lengthen the petal.
Use a silicone rose veiner, make the first vein impression. Then use a veining stick, to create more texture on the surface of the each petal. Roll the veining stick from one side to the centre, then the other side to the centre.
Shape the petal to have some movement and place onto a bumpy foam pad to dry (foam petal former) to dry.
Assembling The Wired Petals

Once the petals are dry. Prepare each petal by bending the wires to a 90 degree angle. Have some mid-green florist tape ready. Arrange the first petal onto the centre, tape it in place. Arrange the next four petals by overlapping them.
At this stage you can decide if you want to use all nine petals. I decided to tape on three more petals, so my flower had a total of 8 petals. Look at the shape and design of your flower to help you decide how many petals you want.
Finish by taping down the entire length of the stem.
Beginner Friendly Japanese Anemone
I promised to show you the beginner friendly version for the Japanese Anemone. The main difference on this version, you can use minimal equipment to create this.

Prepare the centre: The stamens and seed head as per the instructions for the fully wired Japanese Anemone.
If you do not have a five petal blossom cutter, you can cut out the blossom shape from the FREE TEMPLATE.
Roll out some white gumpaste from the centre to the edge using a Cel Stick or as an alternative a regular pencil or paint brush. Leaving a slight raised part in the middle, this is called a Mexican Hat, this is where you will secure the centre.
Place the blossom cutter or template over the Mexican Hat and cut out the blossom.
Using a ball tool widen, lengthen and thin the edges of each petal on a petal pad or sponge. Use a veining tool or similar tool that will not cut the gumpaste, to mark vein lines into each petal.
Roll out a further piece of gumpaste completely flat and cut out another blossom. You will only need 3-4 petals from this blossom. Use a scapel or knife to cut the petals out.
Make sure you prepare the 3-4 petals by - widening, lengthening, thinning and veining each petal.
Assembling This Flower

Make a mould by moulding some foil over a glass.
Place the full blossom with the Mexican hat into the foil mould (Mexican hat side down against the foil). Brush some edible glue into the centre, arrange and glue the petals into the centre.
Brush some more glue into the centre and thread the stamen and seed head through the middle of the flower and secure in place.
To give the petals some movement use some small pieces of tissue or kitchen paper to position the petals into place while they dry.
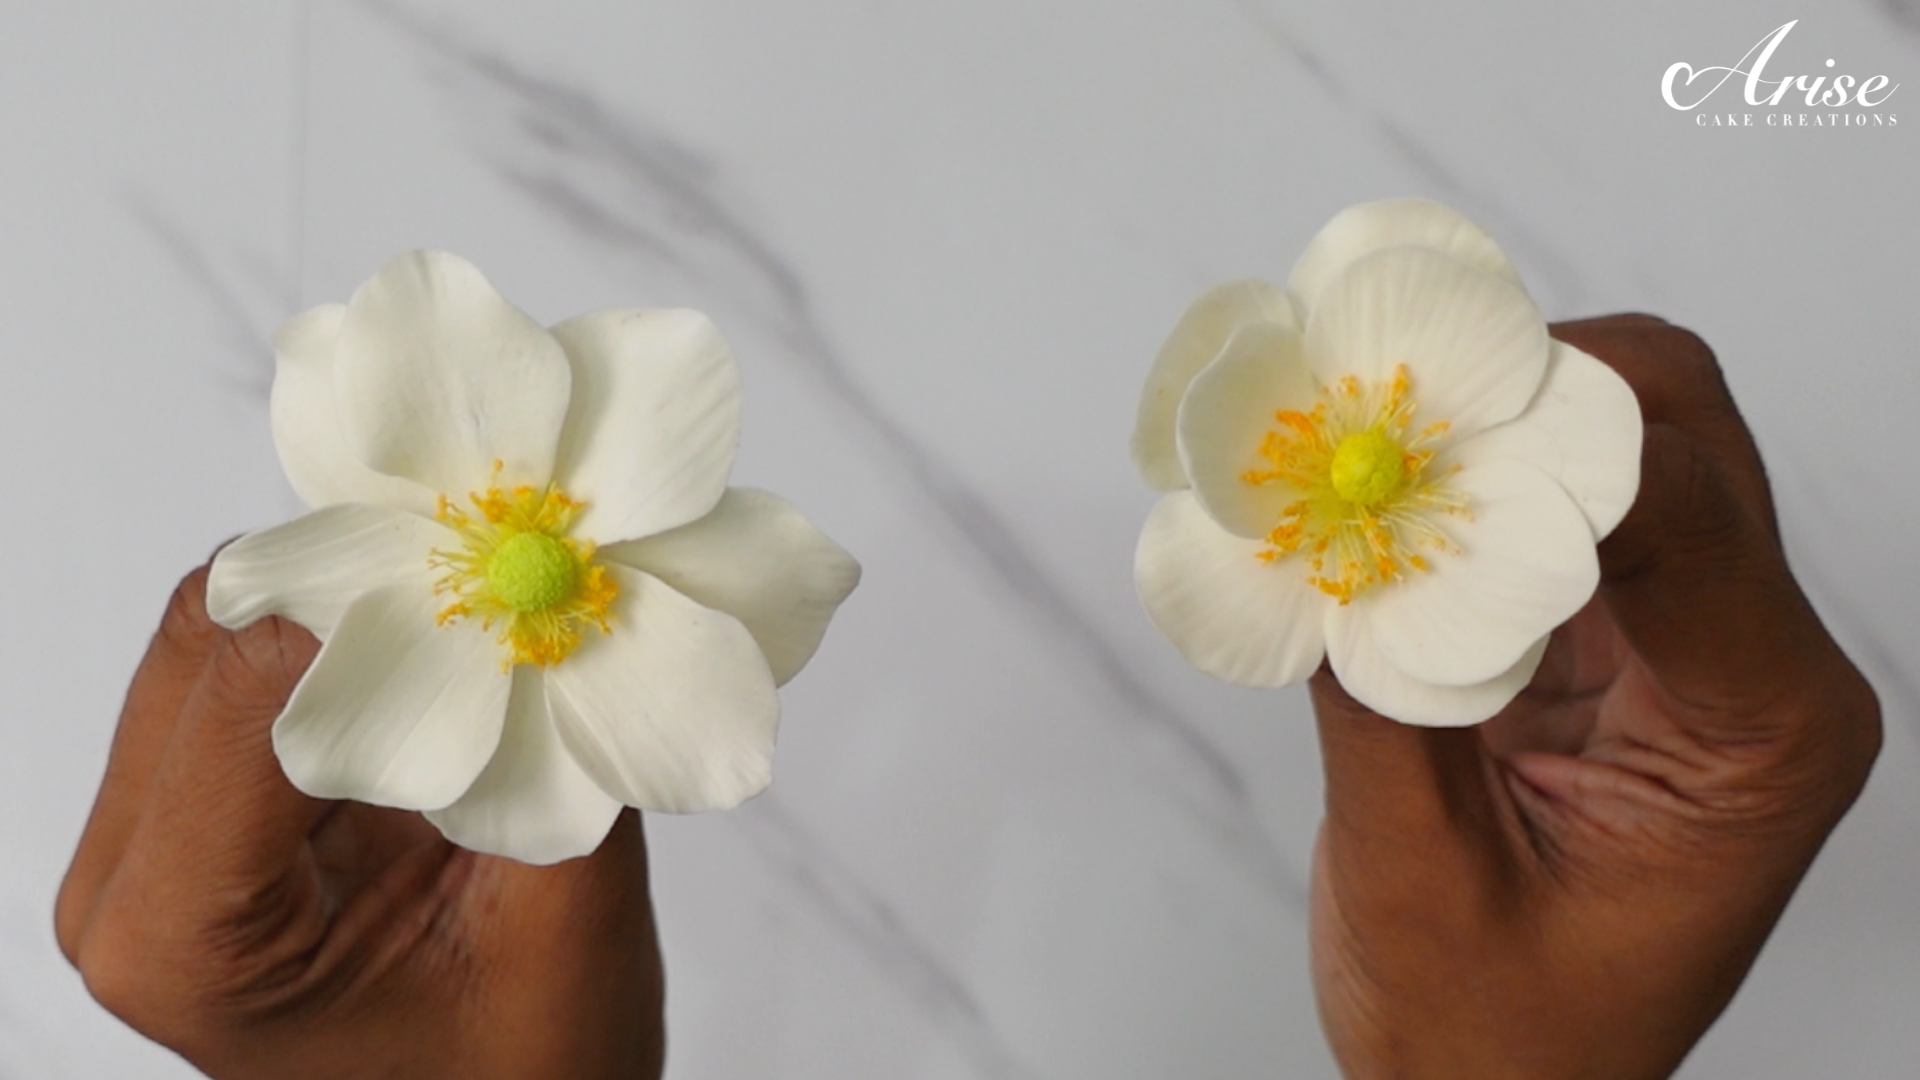
I think both versions of flowers look beautiful! What do you think?
I hope you enjoyed this tutorial. If you make this Japanese Anenome, please remember to tag me - #arisecakecreations - @arisecakecreations on Instagram or Facebook, so I can see your beautiful work.

